Blackberry Cheesecake
BLACKBERRY CHEESECAKE
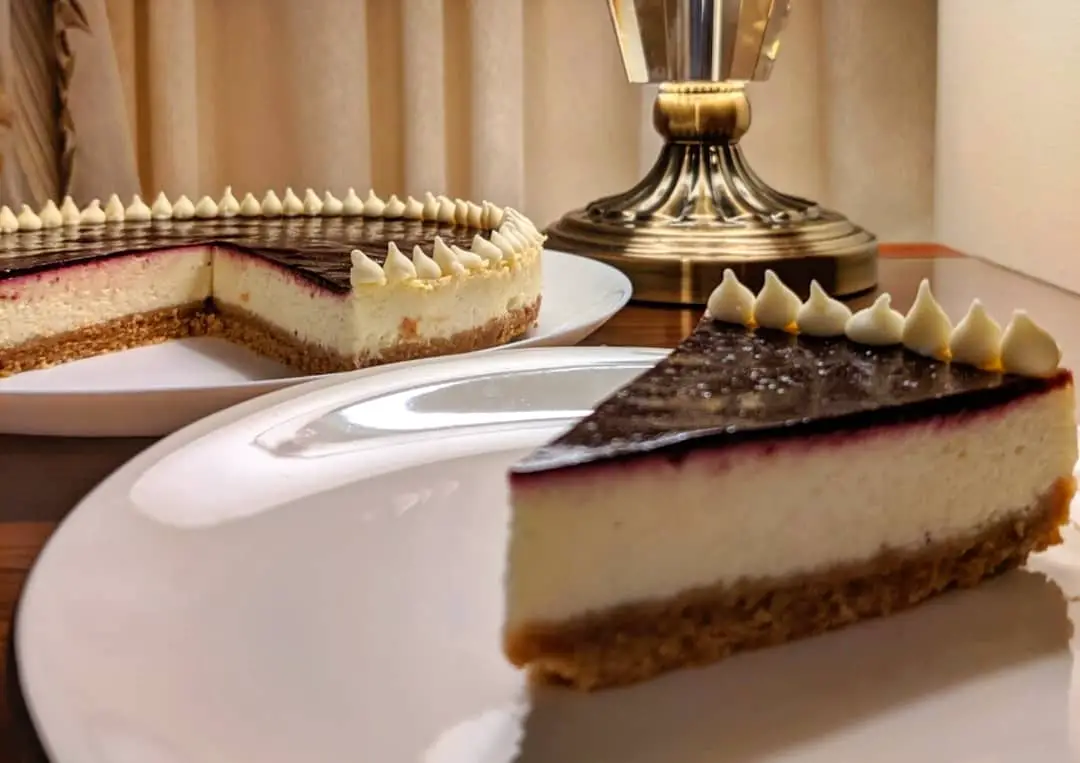
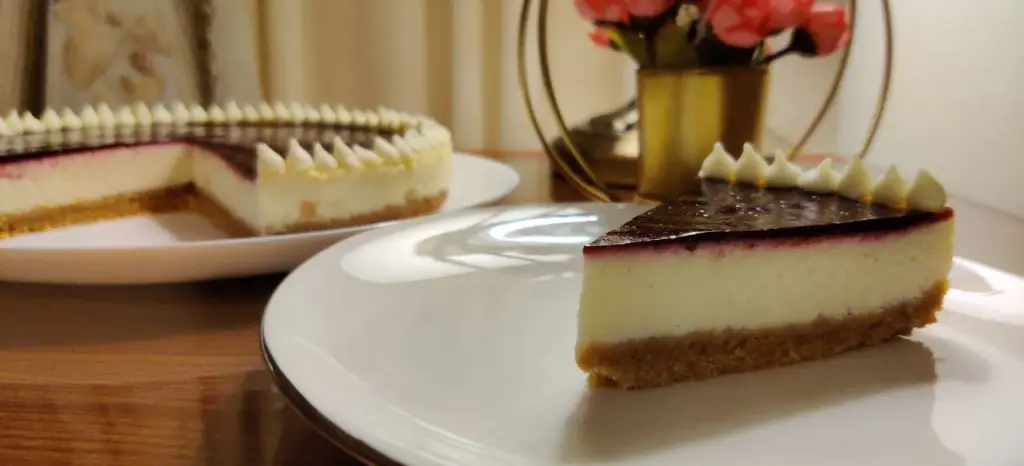
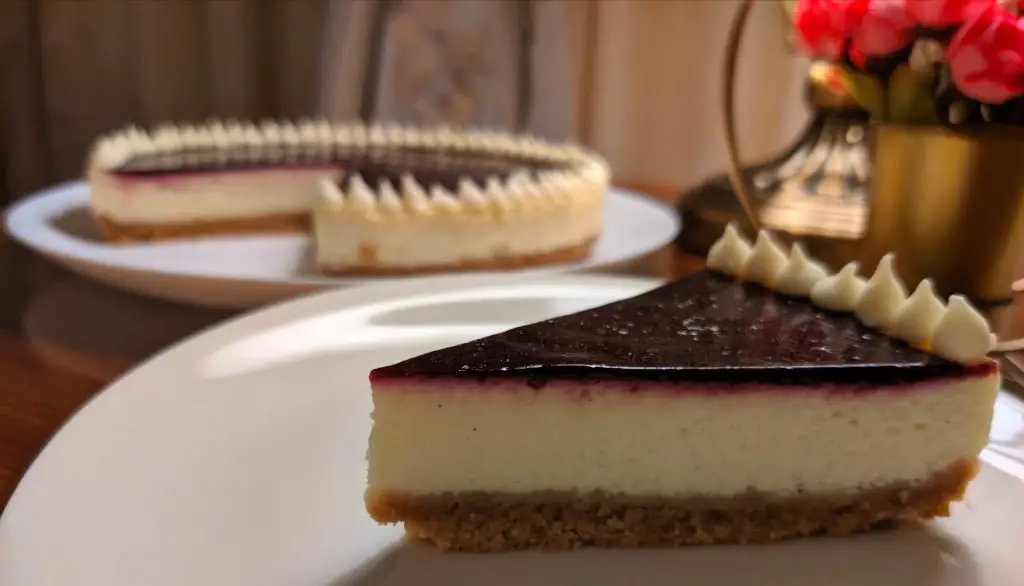
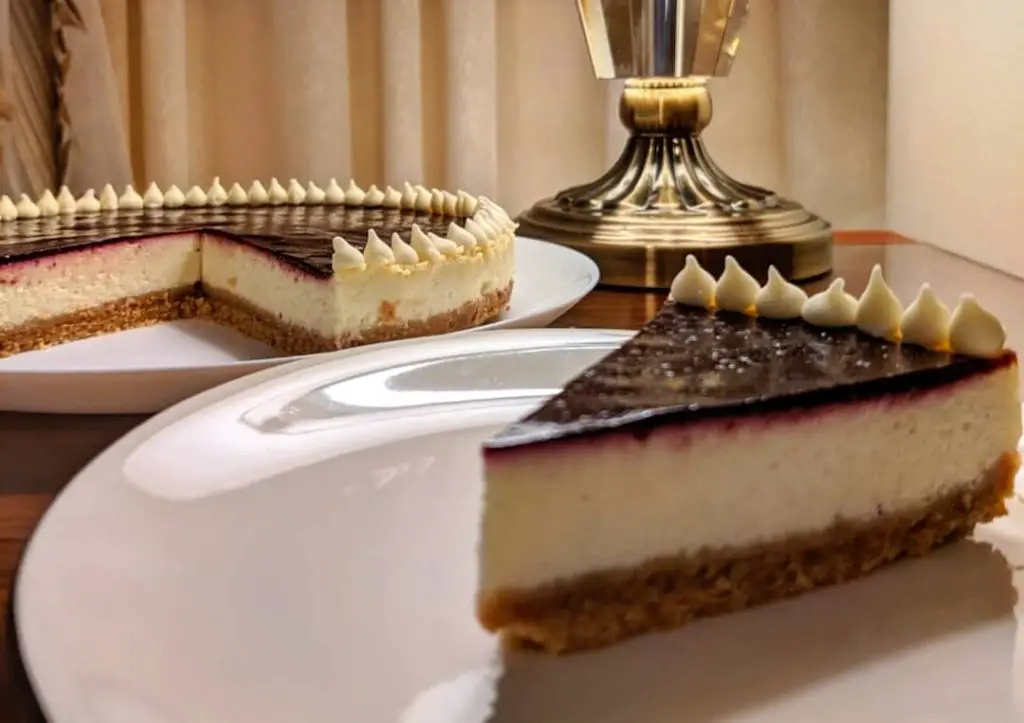
The Best Blackberry Cheesecake Ever! With a velvety cream cheese layer, crunchy graham cracker-based crust, and a delicious blackberry topping, what’s not to like?
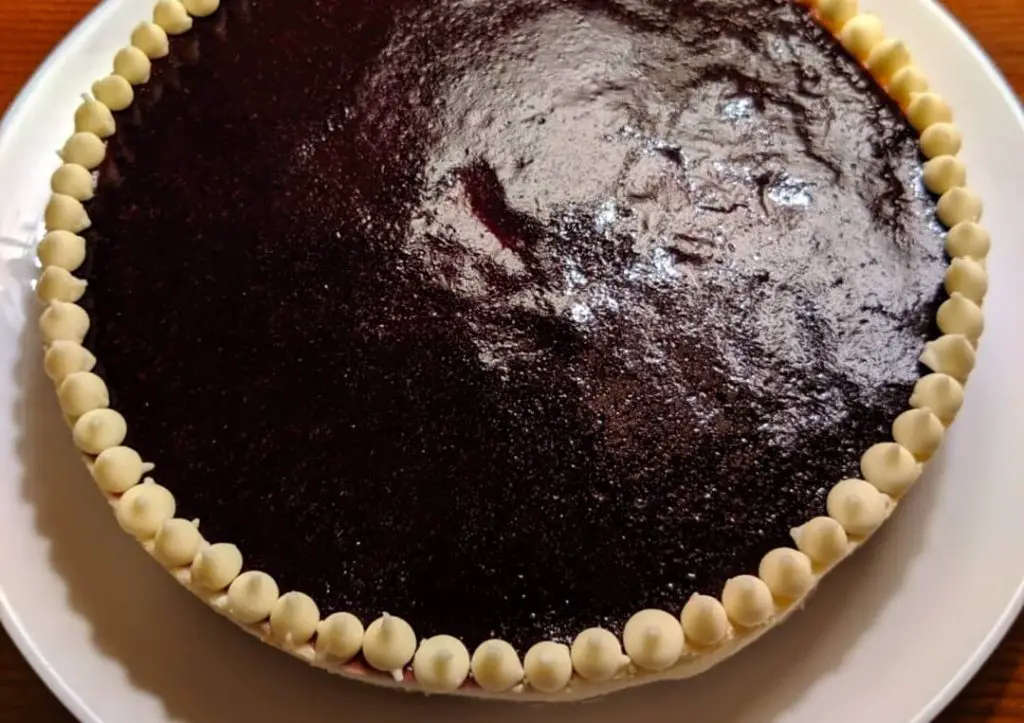
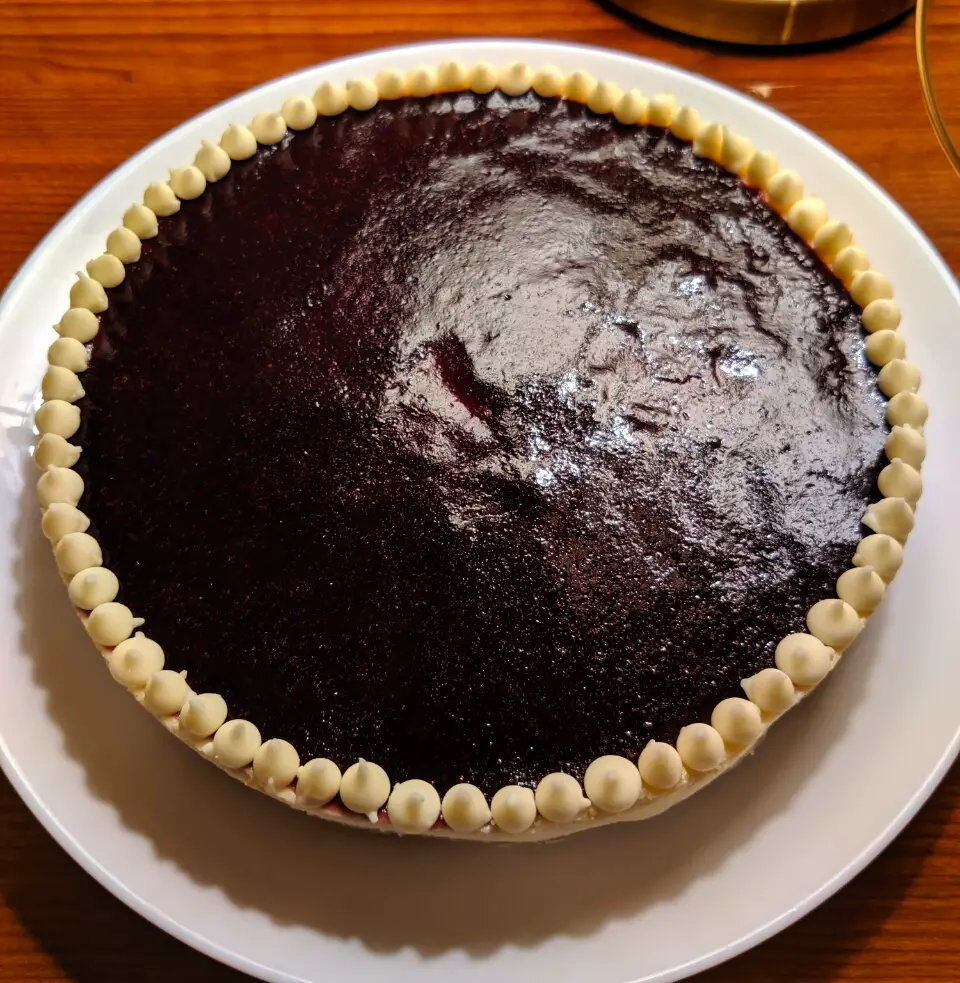
No doubt, the blackberry topping packs a robust punch of flavor. But the fact that it looks like a mesmerizing starry galaxy should be enough to make you fall in love with it.
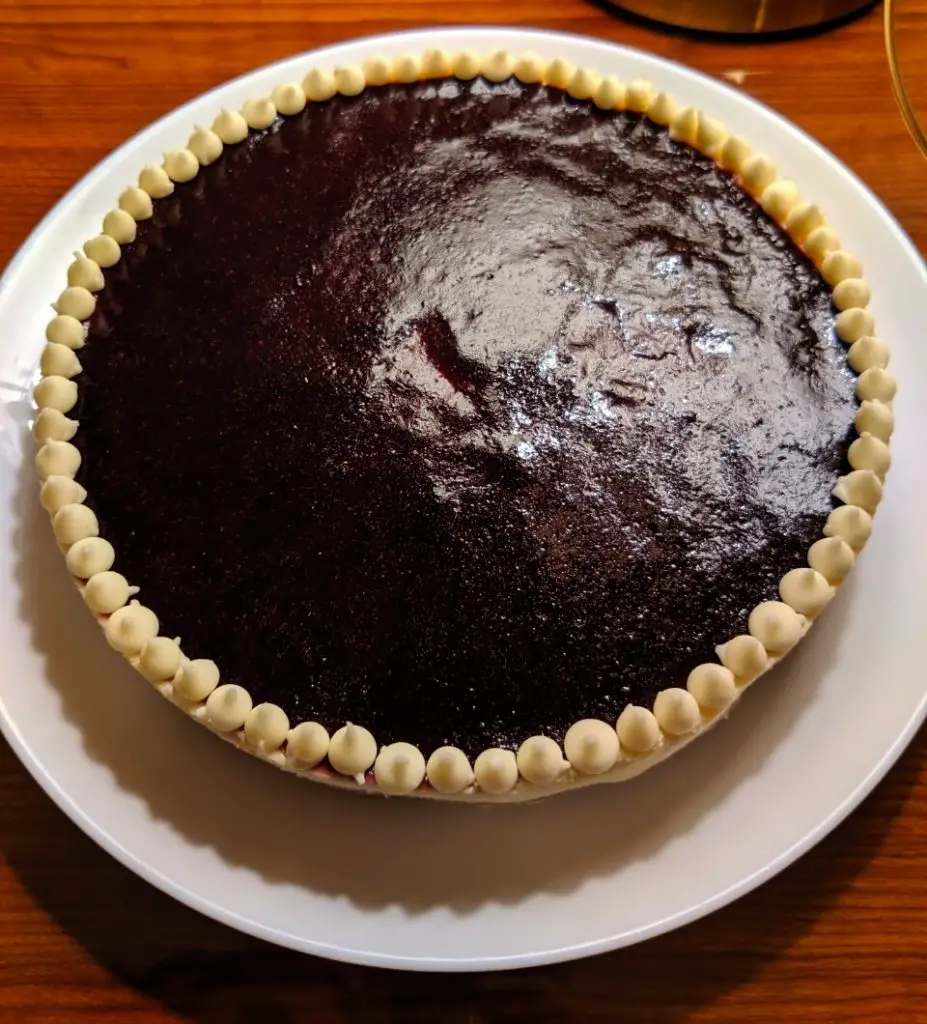
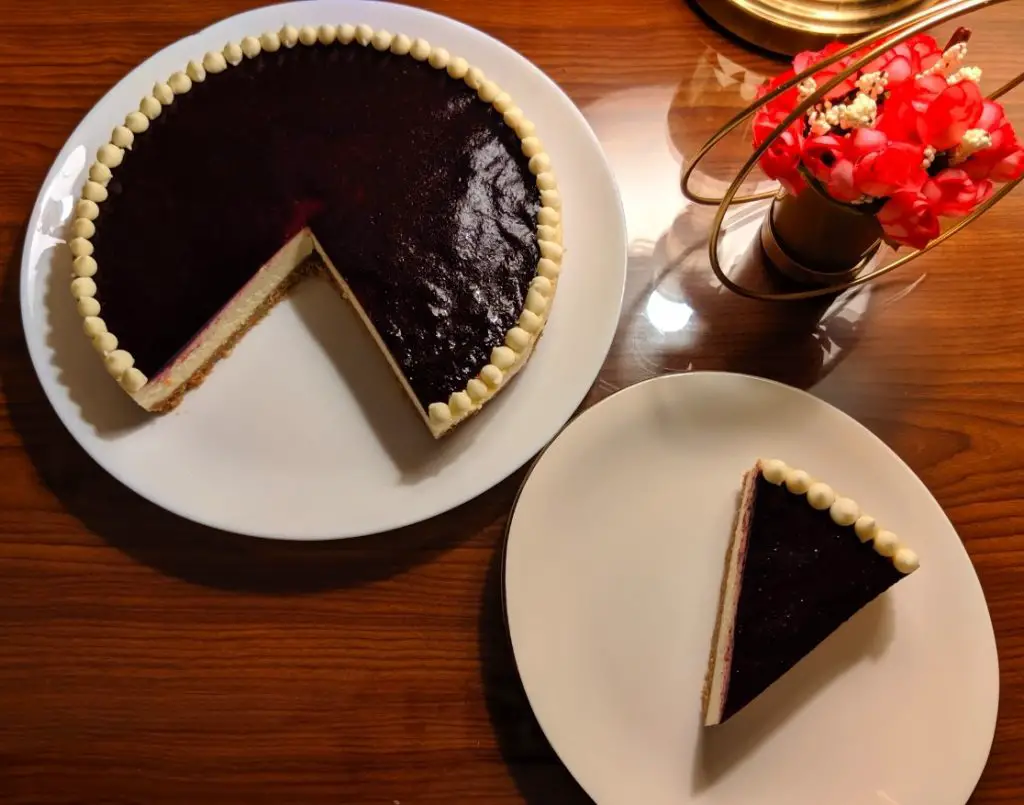
I made this cheesecake last Eid al Adha, and everyone was raving about it. An absolute crowd-pleaser! I honestly thought, it’s just a cheesecake, why the exaggeration? Until I tried it…
It’s too good! The silky-smooth cheesecake…the tangy-sweet topping..the crunch of the base.. It simply can not be matched.
I’m gonna stop blowing my own trumpet right about now..(but in my defense…that’s what food blogging’s all about y’know? 😛 )
And, like you would want any Eid dessert to be, it is a perfect make-ahead item. In fact, you can prepare it two days in advance and focus on your other Eid preparations!
What if I want a thicker cheesecake?
While this is a classic cheesecake recipe, it is not as thick as a traditional cheesecake is supposed to be. However, you can very easily double the recipe to get a thicker, classic cheesecake.
If you have ever made cheesecakes before, you know that they generally call for a lot of cream cheese. And if you use good quality cream cheese, it makes cheesecakes not-too-budget-friendly.
This recipe is also great for those who don’t have the whole quantity on hand, or just don’t want to make a large quantity.
If you would like a thick cheesecake while using the same quantities mentioned in this blackberry cheesecake recipe, all you have to do is use a 6 or 7 inch spring-form pan! It will be smaller but it will look thick, exactly like a classic cheesecake should be. This would probably increase the baking time though.
Should I bake the crust?
Not all cheesecakes recipes call for baking the crust alone before adding the cream cheese batter. But I prefer doing that to avoid a soggy cheesecake crust.
Which biscuits can I use for the crust?
Graham Crackers are the first choice for any cheesecake crust. They’re usually honey or cinnamon-flavored and give the classic flavor of a cheesecake base.
That being said, you can use Marie biscuits or Digestive biscuits with a pinch of cinnamon powder. I have often opted for these options when Graham Crackers were not available at my local stores.
Do I need to use a water bath for this cheesecake recipe?
Please don’t let water-baths deter you from making this amazing cheesecake. Using a water bath is quite simple. You just need to place the cheesecake in a large tray filled with hot water, and place this tray (with the cheesecake pan in it) into the oven for baking.
This prevents the cheesecake cracking on the surface, since the water bath slowly brings up the temperature of the cheesecake as it cooks. The cheesecake also bakes evenly (wet cake strips work similarly to bake even cake layers).
I have never tried baking this cheesecake without the water bath because there are a billion benefits to using it. It adds only a little time to the preparation and the results are well worth it.
However, if you absolutely have to, you can bake it without a water bath. (No-bake cheesecakes like this blueberry cheesecake are an excellent option for those who do not have the time to bake cheesecakes.)
AND MOST IMPORTANTLY!
The foil you use must be big enough to cover all the bottom and up the whole sides of the pan. If you use plenty of smaller foils thinking it is the same thing, water will leak into the pan.
Water leaking into your cheesecake from the water-bath will ultimately lead to a soggy crust and a soggy cheesecake, and you don’t want that. Take my word for it, I once had that regretful experience *sobs*.
Using a springform pan
Spring-form pans are always used to make cheesecake because the sides are removable. You do not have to flip it as you would regular cakes. You can easily remove the sides and place the cheesecake on a serving platter.
If you use a normal cake pan, you will have to cut the cheesecake inside the pan for serving, and that’s not the ideal way but it still tastes awesome!
Removing Cheesecake from the spring-form pan
After the cheesecake has been chilled for sufficient time, you can use a hairdryer on the sides of the pan till you see water droplets. This will help soften the edges so you can remove the sides easily.
Alternatively, you can dip a butter knife in hot water, wipe it using a paper towel and then run it along the sides of the pan. Unlock the latch and carefully remove the sides in an upward direction.
If the side does not seem smooth after removing the cheesecake from the spring-form pan, pass a warm butter knife along the sides and it will be perfect!
Which cream cheese should I use?
I can not stress the importance of using a good quality cheesecake enough. Cream cheese is the main ingredient here, so you should not, in any case compromise it’s quality. I use Philadelphia and it is the most popular brand used worldwide.
However, if you know of another brand which has good quality cream cheese, go ahead and use that (And let me know too in the comments!)
Please know that cream cheese here is not the cream cheese spread such as bottles from Kraft or Puck.
Do I have to use Full-fat cream cheese?
YESSSS! You need to use regular full-fat cream cheese to get a rich, decadent cheesecake. Don’t choose ‘lite’ or ‘low-fat’ versions for this dessert! No place for diet here 😛
Can I use a different topping?
Yes, definitely. You can swap out the strawberries for blueberries or strawberries. You may even keep it classic with a plain sour cream topping or skip the topping all together.
This cheesecake tastes amazing on it’s own too!
(Bonus Tip: Toppings are also a a cool way to hide any cracks you get on the top of your cheesecake.)
What do I need to make a blackberry cheesecake?
The ingredients needed to make this blackberry cheesecake are minimal and those you are likely to have on hand.
- Cream cheese, eggs, sugar, sour cream and whipping cream make up the cheesecake layer.
- Graham crackers crumbs and melted butter make the crust layer.
- And finally, topping consists of blackberries, sugar and little bit of gelatin.
How do I know my cheesecake is done?
Now this can be slightly trickly.
You don’t want an under-baked cheesecake which is liquidy at the center but you also don’t want an over-baked cheesecake which is the main reason cheesecake looses it’s creaminess.
You are more likely to over-bake your cheesecake than to under-bake it.
The best way to check if it’s time to switch off the oven, is to slightly move the pan. The center should still be wobbly and the sides firm. The wobbly part will set as it cools.
Switch off the oven at this point, and keep the oven door open to gradually bring down the cheesecake temperature.
Leave the cheesecake in the oven for 1 hour. Sudden change in temperature can lead to cracks on the cheesecake surface.
After the cheesecake has sat for one hour in the (turned off) oven, carefully remove the large baking pan from the oven.
Remove the spring-form pan from the water bath and place it on your counter top.
Let your cheesecake come completely to room temperature, cover it with plastic wrap, and then place it in the refrigerator to chill for 6 hours or overnight. I know, I know, that’s a lot of waiting! But great results require great patience!
A velvety cheesecake is worth the hassle, trust meee!
Why does a cheesecake crack?
- Over-beating after eggs are added.
- Sudden temperature changes.
What should I use to prepare the cheesecake filling?
Okay, so there are three ways in which you can mix your cream cheese with the rest of the filling ingredients.
First is to use a stand mixer with a paddle attachment. This reduces your work because you don’t have to manually mix anything and it results in a beautifully creamy cheesecake.
Second, is mixing by hand. This results in a creamy cheesecake too, just at the additional cost of arm labour.
The third, and the least preferred option, is to use a handy beater. These tend to over beat the mixture and compromise on the creaminess of the batter (even though it gets the work done pretty fast).
Can I freeze this cheesecake?
Unfortunately, no. Any cheesecake with topping is not suitable for freezing.
NOTE: All the ingredients for the cheesecake mixture need to be at room-temperature so they are easy to mix, and result in a smooth batter.
With all these tips in your back pocket, there’s no way you can go wrong with this amazing blackberry cheesecake! Go ahead try it out!
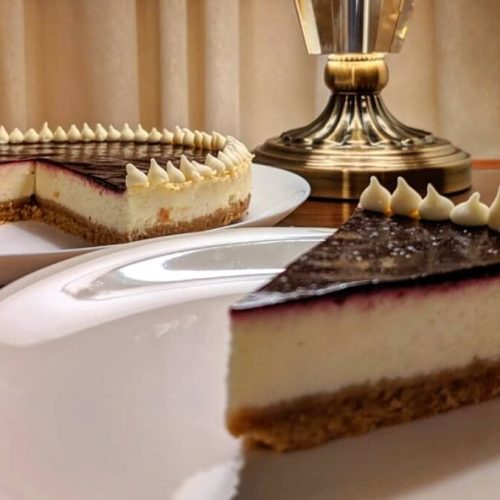
Blackberry Cheesecake
Ingredients
FOR THE CHEESECAKE CRUST
- 1 ¾ cups Graham cracker crumbs (230 grams)
- 2 tablespoons Granulated white sugar
- ⅛ teaspoon Fine salt
- 60 grams Unsalted Butter Melted
FOR THE CHEESECAKE FILLING
- 450 grams Cream cheese at room temperature
- 130 grams Granulated white sugar
- ¼ teaspoon Fine salt
- 1 teaspoon Vanilla extract
- 2 large Eggs
- 5 tablespoons Sour cream
- 5 tablespoons Heavy whipping cream
FOR THE BLACKBERRY TOPPING
- 2 cups Frozen blackberries
- 3 tablespoons Granulated white sugar
- 2 tablespoons Lemon juice
- 1 teaspoon Gelatin heaped
Instructions
FOR THE CRUST
- Preheat oven to 175°C.
- In a food-processor, place 230g graham crackers, salt, sugar and process to fine crumbs. Add butter, and pulse till well combined.
- Butter a 9-inch spring form pan. Put the graham cracker crumbs and press using the bottom of a glass/measuring cup or your fingers till the layer is tight and even.
- Bake the crust for 10 minutes. Remove from the oven and let cool.
PREPARING THE SPRING-FORM PAN
- Use three large square pieces of foil to cover the outside of the pan. Each foil piece should be 18 by 18 inches. It should be large enough to cover the bottom and come up the sides of the pan. Place the spring-form pan in the center of the foil and fold the sides to it comes up the sides of the pan. Repeat these steps with 2 or 3 more pieces of foil. You must do this carefully to prevent your foil from tearing. If you do not follow this step properly, water can leak into your cheesecake and will cause your crust to be soggy.
- Preheat oven to 160°c.
FOR THE CHEESECAKE LAYER
- In the bowl of a stand mixer, with paddle attachment, beat the cream cheese for 3 minute till smooth.
- Add sugar and beat again, for around 3 minutes.
- Next, add salt, beat for 1 minute, add vanilla and beat for one minute.
- Add one egg, beat for 1 minute. Add another egg, beat for 1 minute.
- Add sour cream, beat for 30 seconds. Scrape down the sides to make sure everything is well incorporated.
- Finally add heavy whipping cream, and beat till combined.
- Pour this cheesecake filling on the top of the prepared cheesecake crust and smooth the top using a rubber spatula or an offset spatula.
PREPARING WATER BATH
- In a large rectangular baking pan (that has high sides), place the spring-form pan.
- Place the large baking pan (with the spring form pan in it) into the oven.
- Boil around 1.8 Litres of water and carefully pour this in the large baking pan. The water should reach half way up the sides of the pan.
- Bake for around 40-50 minutes. If you double the recipe of the cheesecake filling for a thicker cheesecake, bake for around 1 hour and 30 minutes.
- Turn off the oven. Leave the oven door a little open, and let the cheesecake sit there for an hour. Then. transfer the large baking pan onto your counter top and carefully remove the spring-form pan from it.
- Let the cheesecake (in the spring-form pan) come to room temperature.. Once completely cooled to room temperature, cover with cling wrap and transfer to the refrigerator to chill for 2 hours before putting the blackberry topping.
FOR THE BLACKBERRY TOPPING
- Add blackberries, sugar and lemon juice in a pan, cook for 10 minutes. Then use a sieve to separate seeds. Discard these seeds.
- Add 2 tbsp. water and 1 teaspoon heaped gelatin in a small pan. Leave for 10 minutes for gelatin to swell. Then put it on low flame and stir constantly. When all the gelatin dissolves, remove from stove and pour it on the blackberry sauce. Mix and immediately pour onto cooled cheesecake.
- Refrigerate the blackberry cheesecake for 2 hours or overnight. Then you can remove the sides of the spring form pan (read the post above to know how) and transfer to a serving plate. ENJOY!
Notes
- I used measuring spoons for this recipe. For best results, I suggest you do the same.
- I use Philadelphia brand of cream cheese.
- I put the blackberry sauce after refrigerating the cheesecake overnight. The blackberry topping will need at least an hour or two to set.
Did you try this recipe?
I would love to know how it turned out for you! Leave a comment below and post a picture on Instagram with the hashtag #theovenist.
Wow, this is a must try! I love cheese cakes so much… thank you for the well-detailed ingredients and preparation!
Me too, cheesecakes are awesome! Would love to know how it turns out for you 🙂
Yummy for the tummy
thanks 🙂
Yes, I will for sure. Will send you updates by then..
Love blackberries! This looks quite tasty.
me too 🙂 thanks!
For what it’s worth: Having learned to bake in the US and much later moved to Britain, I find that the British cream cheese has a different texture than the American, although in both places I used Philadelphia–one I don’t like as well. A friend tells me that if I buy a cheaper, generic brand it will give me a better cheesecake, but I haven’t tried it worth.
Oh that’s interesting! Thank you for that, I guess I should give it a try some time 🙂
This looks amazing. I can eat it with my eyes only. 😍 I can’t have sugar for health reasons. I lead a ketogenic lifestyle. I an wondering if I could use Monkfruit to replace the sugar and make a keto version of this dessert.
I have never tried it with monk fruit, but I believe it should turn out just fine 🙂